- Published on
Send email from your React form without a backend
- Authors


In this article, we will show you how to use Getform with React.js to create a basic contact form and submit the data to Getform's servers.
Getform Dashboard


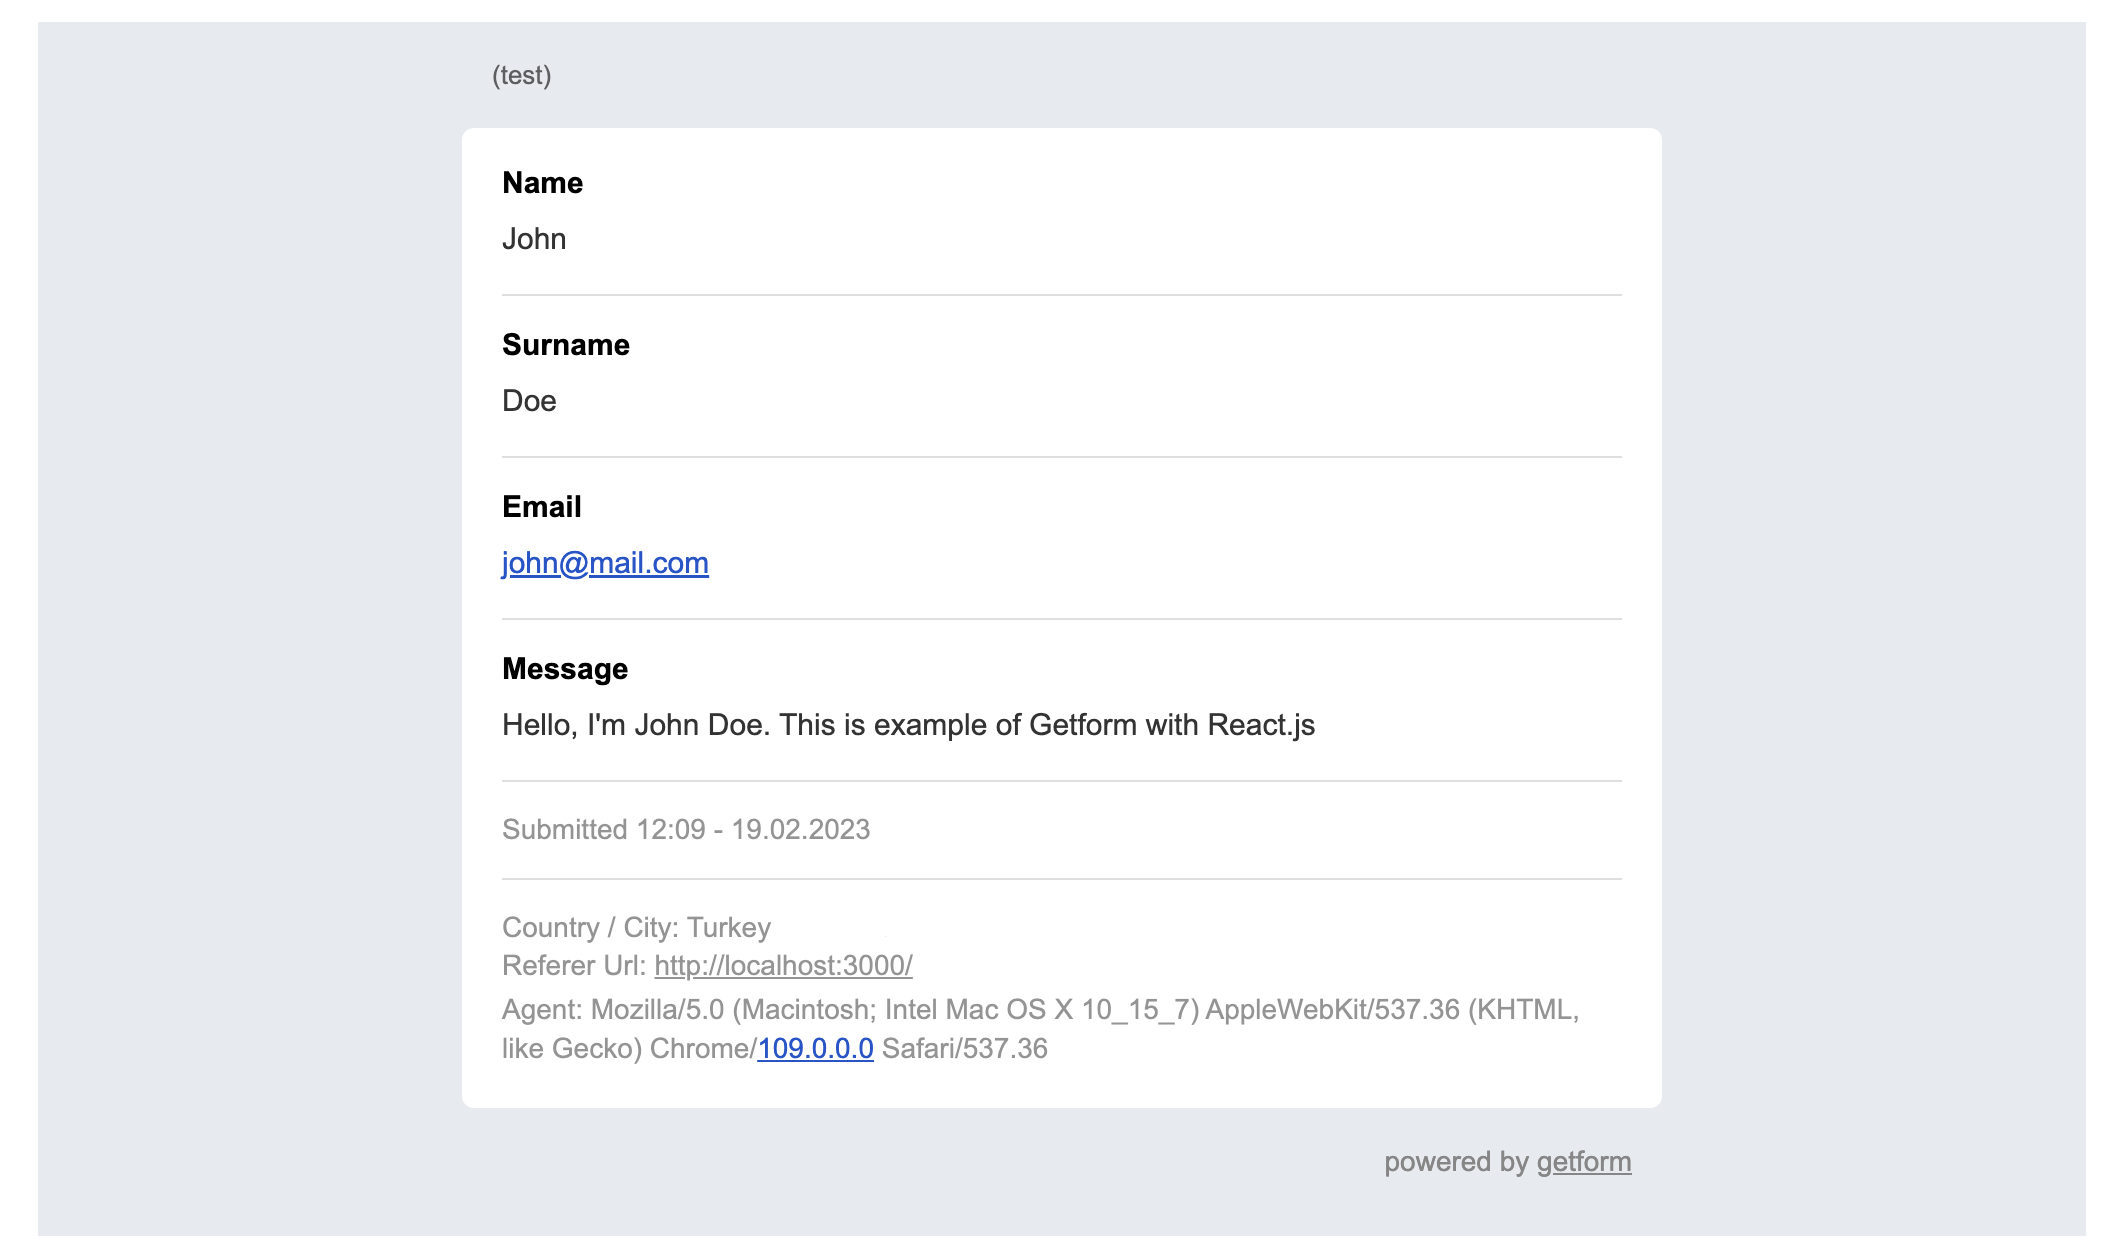
Form email notification

Other Examples
Create dynamic form with Vue.js
Create dynamic form on static website
Form Notifications
Send Slack notification from your HTML form
Send Email notification from your HTML form
Getting Started


What is Getform?
Getform is a form backend service that allows you to easily collect form submissions without having to set up your own server or database. Getform provides a simple endpoint for your form to submit data to, and then stores that data for you in a secure way. You can then view and manage your form submissions through Getform's web interface or through integrations with other services.
Get Started
- Create account on Getform
- Verify your email
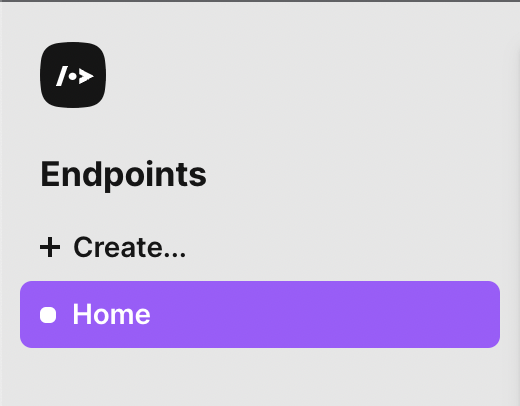
- Click
+ Create...button on side bar

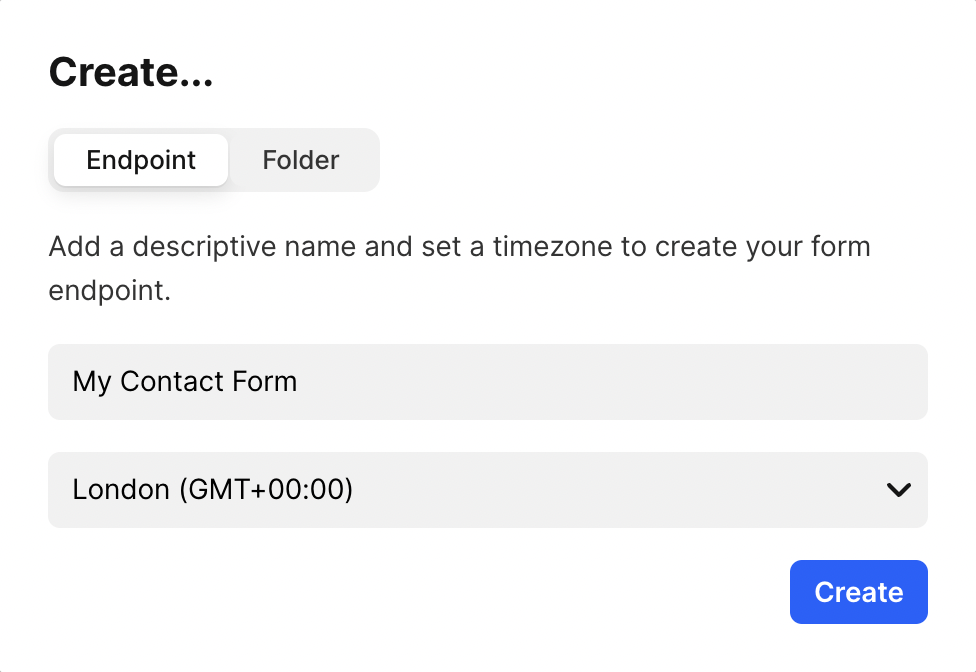
- Create your form endpoint

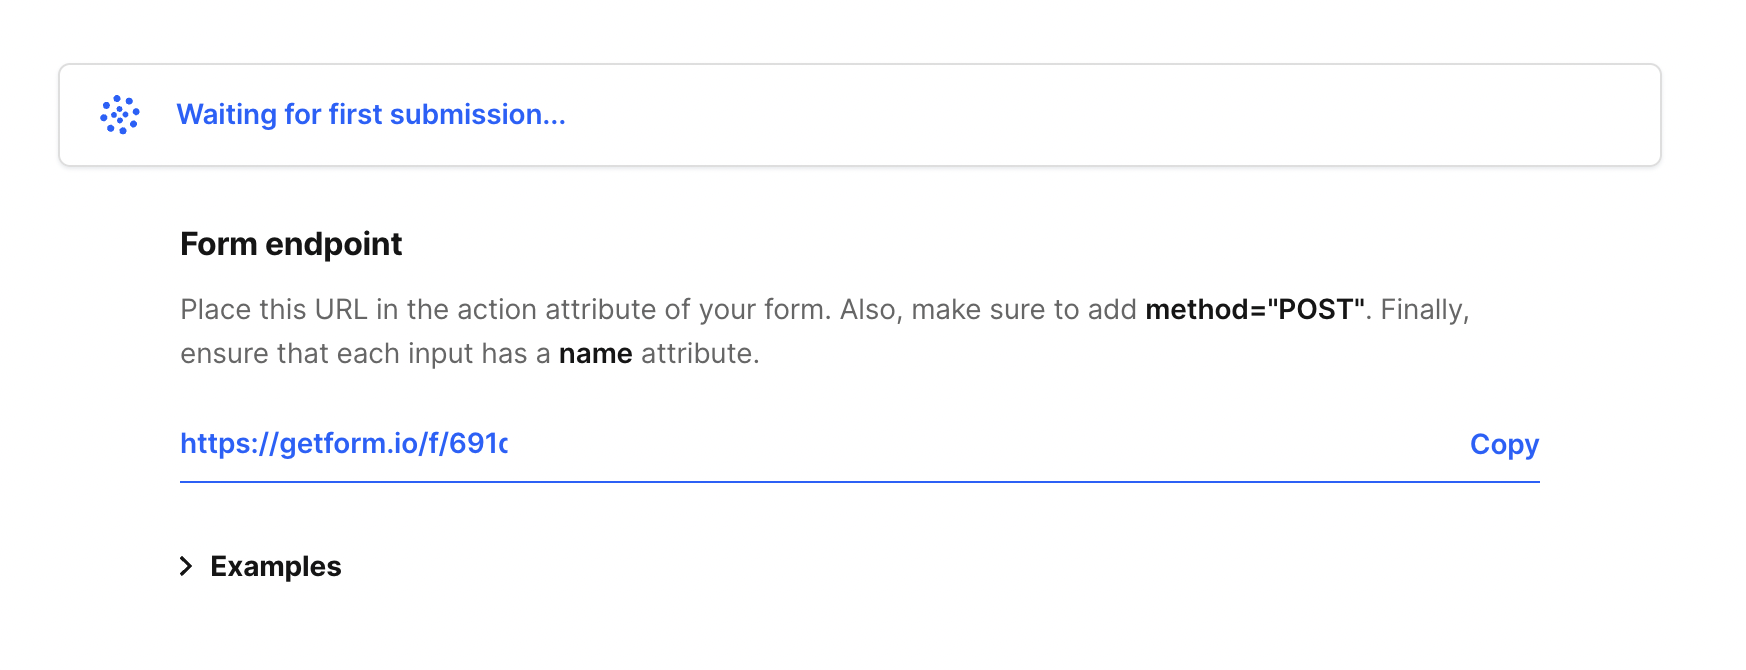
- Note your endpoint

React.js
The useState hook is used to create stateful logic in function components. In this example, it's used to create an object called formData that holds the values of the input fields:
const [formData, setFormData] = useState({
  name: '',
  surname: '',
  email: '',
  message: ''
});
The setFormData function is used to update the values of the formData object. We'll see it in action later.
Handling Input Changes
The handleInputChange function is called when the user types in an input field. It updates the formData object with the new value:
const handleInputChange = (event) => {
  setFormData({
    ...formData,
    [event.target.name]: event.target.value
  });
};
The [event.target.name] syntax is used to update the key in the formData object that matches the input field's name attribute. The spread syntax is used to copy over the existing values in the formData object.
Handling Form Submission
The handleSubmit function is called when the form is submitted. It sends a POST request to the Getform endpoint with the formData object as the request body.
Once the form is submitted, the handleSubmit function is called. This function prevents the default form submission behavior, and then uses the fetch function to make a POST request to the Getform endpoint URL with the form data as a JSON object in the request body.
If the response from the server is not 200 OK, it logs an error message to the console. Otherwise, it resets the form data to its initial state.
Here's a breakdown of the handleSubmit function:
const handleSubmit = (event) => {
  event.preventDefault(); // prevent default form submission behavior

  // make a POST request to the Getform endpoint with the form data as a JSON object
  fetch('(your-getform-endpoint)', {
    method: 'POST',
    headers: {
      'Content-Type': 'application/json'
    },
    body: JSON.stringify(formData)
  })
    .then(response => {
      if (response.ok && response.status === 200) {
          setFormData({ name: '', surname: '', email: '', message: '' }); // reset the form data to its initial state
          } else {
          console.log("error"); // log an error message to the console if the response is not 200 OK
      }
    })
    .catch(error => {
      console.error("Error:", error); // log an error message to the console if an error occurs
    });
};
And that's it. You've now learned how to use Getform with React to build and submit forms.You can start building powerful web applications that collect and process user data.
Here is the full code of React.js:
import React, { useState } from 'react';

const ContactForm = () => {

    const [formData, setFormData] = useState({
        name: '',
        surname: '',
        email: '',
        message: ''
    });

    const handleInputChange = (event) => {
        setFormData({
            ...formData,
            [event.target.name]: event.target.value
        });
    };

    const handleSubmit = (event) => {
        event.preventDefault();
        fetch('your-getform-endpoint', {
            method: 'POST',
            headers: {
                'Content-Type': 'application/json'
            },
            body: JSON.stringify(formData)
        })
            .then(response => {
                if (response.ok && response.status === 200) {
                    setFormData({ name: '', surname: '', email: '', message: '' });
                    } else {
                    console.log("error");
                }
            })
            .catch(error => {
                console.error("Error:", error);
            });
    };

    return (
        <form onSubmit={handleSubmit}>
            <div>
                <label htmlFor="name">Name:</label>
                <input
                    type="text"
                    name="name"
                    value={formData.name}
                    onChange={handleInputChange}
                />
            </div>
            <div>
                <label htmlFor="surname">Surname:</label>
                <input
                    type="text"
                    name="surname"
                    value={formData.surname}
                    onChange={handleInputChange}
                />
            </div>
            <div>
                <label htmlFor="email">Email:</label>
                <input
                    type="email"
                    name="email"
                    value={formData.email}
                    onChange={handleInputChange}
                />
            </div>
            <div>
                <label htmlFor="message">Message:</label>
                <textarea
                    name="message"
                    value={formData.message}
                    onChange={handleInputChange}
                />
            </div>
            <button type="submit">Submit</button>
        </form>
    )
}

export default ContactForm


- Name
- Umur Köse